1/22/2020

Valentine Books for Babies

This post contains Amazon affiliate links. 

10/10/2019

Themed Activities I Spider Activities for Elementary Children


If you have a spider loving kid in your life or you are prepping some learning activities for Halloween, then you are sure to love these adorable and fun spider themed activities. Here are spider activities for kids that include lots of learning opportunities:

These Halloween lesson plans are perfect for the preschool, kindergarten, or 1st grade student in an elementary setting. These activities for kids are fun and there are plenty of ideas to keep students engaged the whole week of Halloween! Teach all about bats, bones in our bodies, jack-o-lanterns, and Halloween.#halloweenlessons #kindergarten #halloween #teacherspayteachers
{Spider Roll & Build by Learning with Mrs. Langley}


{Spider Web Art Tutorial by Primarily Speaking}


{Spider Play Dough by Fantastic Fun and Learning}


{Spider Races by Differentiated Kindergarten}


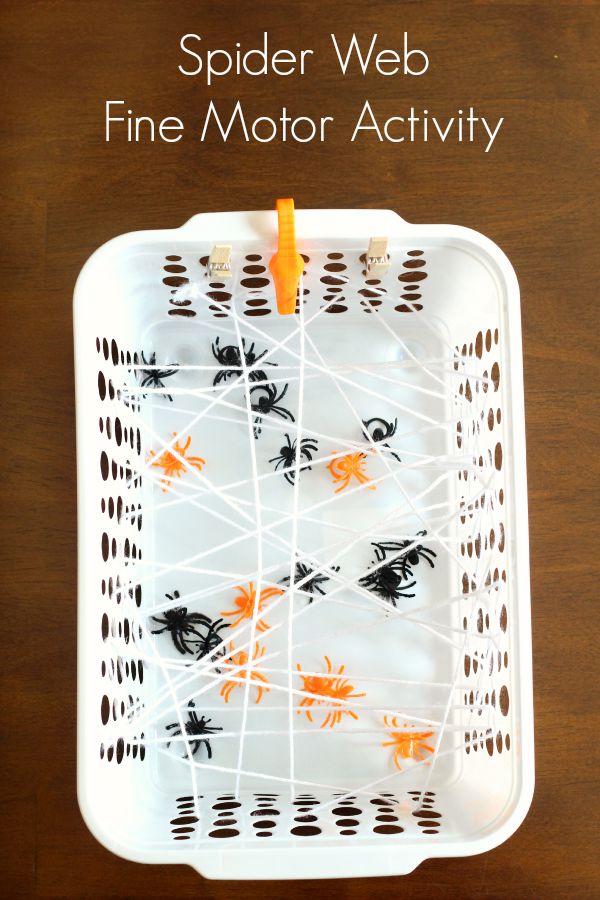
Spider web fine motor game for preschoolers and toddlers. A fun spider activity!
{Spider Web Fine Motor Activity by Fun Learning for Kids}


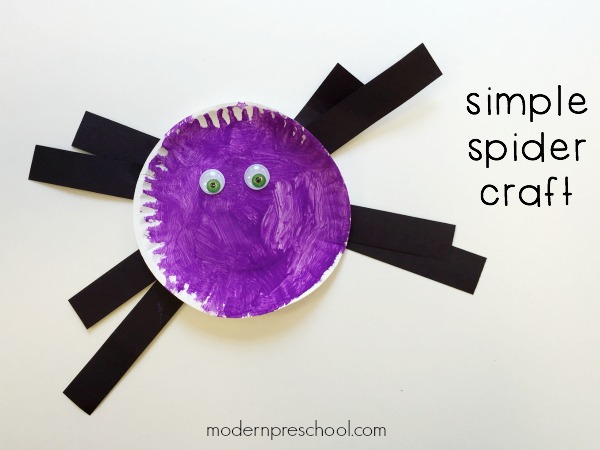
Low prep, simple spider craft for kids! Easy enough for toddlers and preschoolers from Modern Preschool!
{Simple Spider Craft by Modern Preschool}


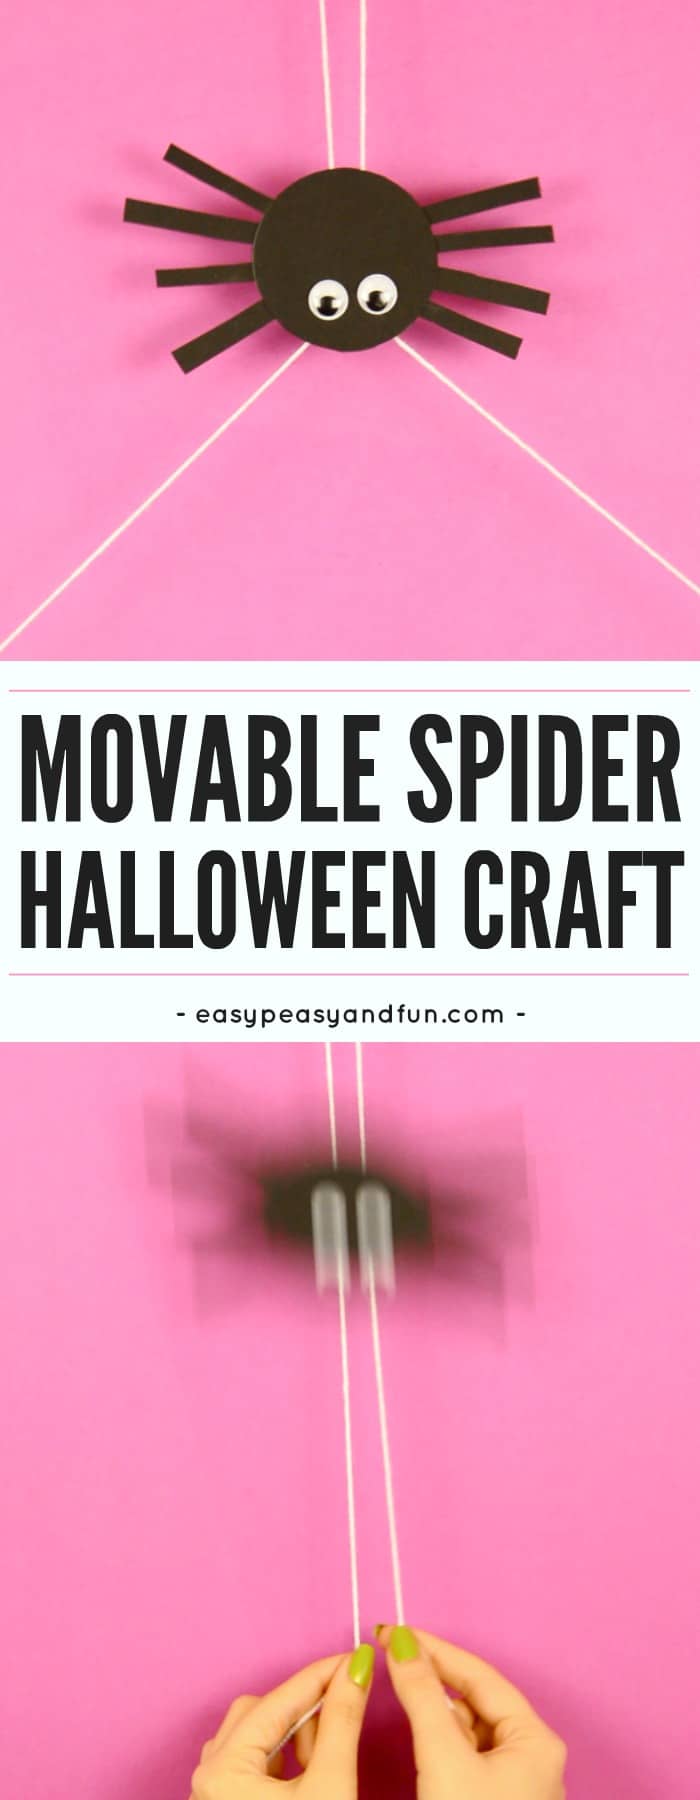
Movable spider craft for kids. Super fun Halloween craft idea for kids.
{Movable Spider Halloween Craft by Easy Peasy and Fun}


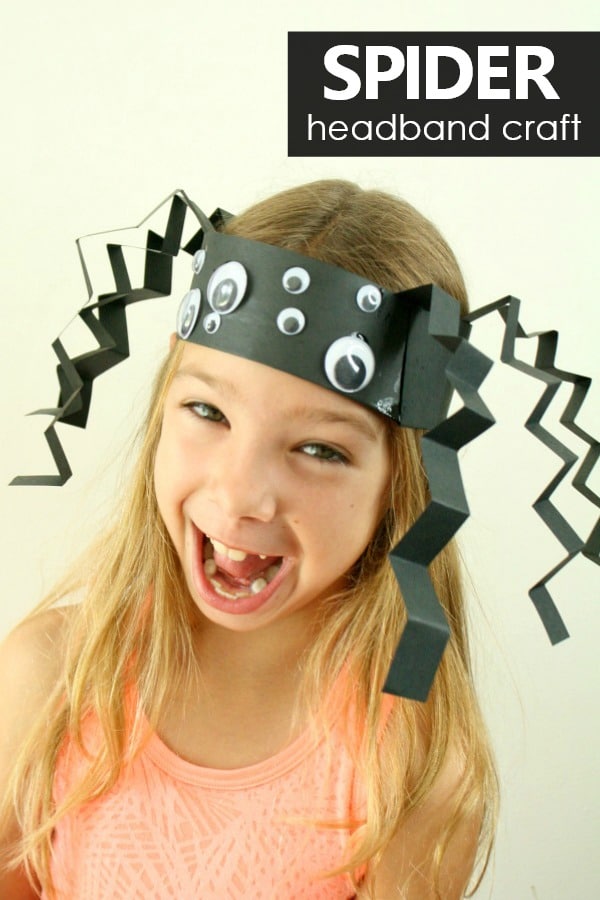
Spider Headband Craft Halloween Activity for Kids #preschool #halloween #kindergarten #kidscrafts
Spider Headband Craft by Fantastic Fun and Learning


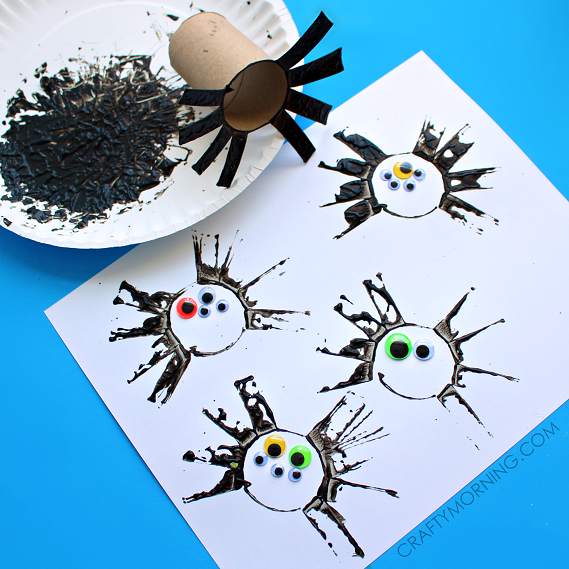
toilet-paper-roll-spider-halloween-kids-craft
{Spider Painting by Crafty Morning}


Itsy bitsy waterplay by Teach Preschool
{Itsy Bitsy Water Play by Teach Preschool}


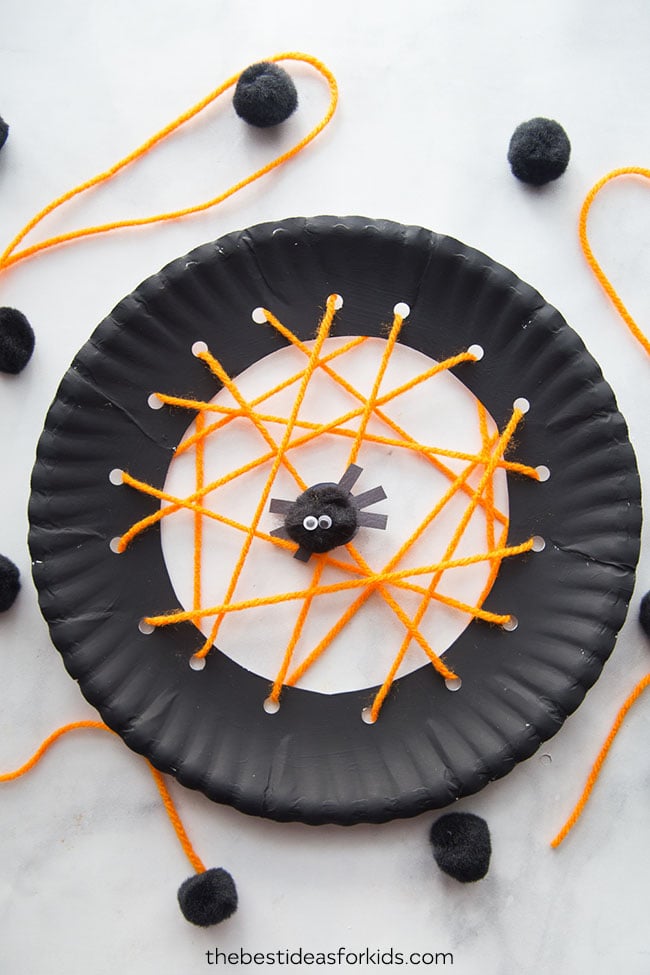
Paper Plate Spider Web Craft
{Spider Web by The Best for Kids}


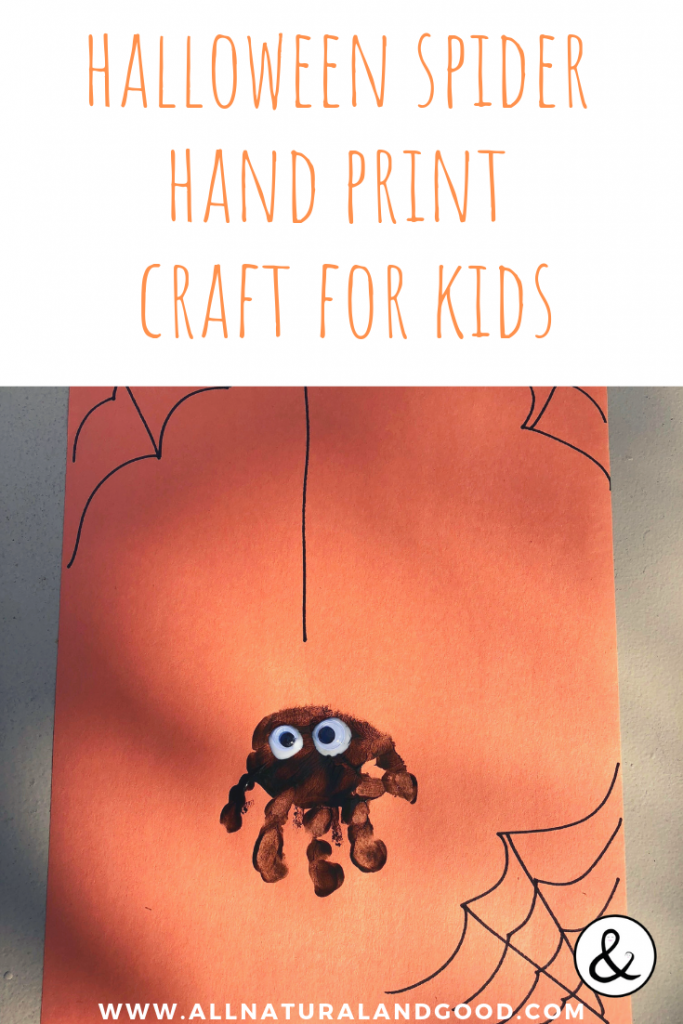
Halloween Spider Hand Print Craft For Kids
{Halloween Spider Hand Print Craft by All Natural and Good}


There are so many spider activities that I found and I can't wait to try some with my daughter and students. I hope you all have a great time with your little one!

For more Halloween pumpkin footprint art, click here and for some Halloween book suggestions, click here.


9/25/2019

DIY | Hello Pumpkin Footprint Craft


It's fall! I mean, technically the calendar is telling me it's fall, but temperatures in the South are anything but fall-ish. That doesn't stop my little heart from loving all the pumpkins, leaves falling (the only leaves I have seen falling are on Instagram...but still I can live vicariously through those Instagram accounts), fall festivals, chunky sweaters, a warm fireplace with Netflix in the background...just everything of what I think fall should be! Do you feel the same or are you more of a summer person?

As some of you know, I don't live super close to my family and I wanted to send a little craft from E to brighten up their day a bit and make us feel like we are just a bit closer to each other. So I came up with this really cute and simple Hello Pumpkin Footprint craft. This craft can go across age groups, however, for this craft, I am using my 8-month old daughter.

So let's get down to business!

Gather the following:
Choice of paint - I used orange paint from Walmart
Paper plate or bowl to hold paint
Tiny paint roller or paint sponge
Small plastic bag
Printable of Hello Pumpkin Footprint Craft 
Snacks for your cutie (optional)


Steps for Hello Pumpkin Footprint Craft:
1. Before we started, I gave E some teething biscuits to keep her busy while I painted/stamped her feet. You may not need the snacks, but this really helped with E.
2. Place small trash bag under the area where you will be rolling your child's feet with paint.
3. Pour paint onto a paper bowl or plate.
4. Using a roller of some sort, roll paint from paper plate or bowl to your child's foot.
5. I rolled paint on E's right foot, stamped that right foot on the paper. Then I repeated the same steps with her left foot.
6. I wiped off E's feet after each stamp because I only did 1 printable.
7. Let art dry and clean up the area!


Craft Tips:

  • Seat the child in a high chair (or bumbo type chair) so that this reduces their chance of getting paint on other surfaces.
  • Have wet wipes or a damp paper towel nearby to quickly wipe off the child's feet after you are done.
  • Put paint in a paper plate and a little paint roller or sponge to roll on the paint. 
  • If you are making multiple Hello Pumpkin papers then I suggest stamping each foot 2x before wiping and rolling their little feet again in paint. 
  • If you do not feel like using paint, then you could always have your older child color in this pumpkin with crayons, markers, stickers...anything your child would dig!


8/21/2019

DIY | Baby Safe Painting

What can I do with ALL this time I have with my baby since she is now sitting up, mouthing (like seriously mouthing EVERYTHING), and wanting to have some serious playtime? Paint!

What?? You say..... your baby can't possibly paint? The paint would get all of the babies face, body, mouth, and what a big old mess!

Have no fear!

You can get your baby to SAFELY paint a masterpiece worthy of the louvre with nary a painted mouth in sight!


You will need the following:
  • Paint 
  • Cling Wrap (but you could also use a zip lock baggy or small clear trash bag)
  • Blank canvas (I bought mine in a pack of 3 at Walmart) 

Painting with Cling Wrap
Pour dots and/or lines of paint on your canvas, then place your cling wrap on top of the canvas. Fold each side of the cling wrap securely over the canvas so that pain does not seep out of the cling wrap and on to your table or counter. You can put some tape to really secure the cling wrap if you have that on hand. Have your baby (or you) push the paint around with your hands (or have LOTS of fun by using a little paint roller or toy car). The paint colors will smear together resulting in a really cool effect. Carefully take the cling wrap off the canvas. If you think the canvas is perfect and awesome the way it is, then by golly you are done and ready to dry. However, if you really wanna up the ante, then take a new piece of cling wrap and lay it on any wet painted area of the canvas. Lift the cling wrap up, then relocate that piece to another location on the canvas and repeat until you are happy. This will result in colors being swirled. Let the canvas dry for 4-6 hours.

The best part of this....is that you can do it over if you are not happy with it at the end. Just splotch more paint on and let the colors swirl and see what you get!

Pictures are posted below for those visual learners out there but remember....I am not a professional blogger here so if there are grammatical errors, picture errors...any errors...then please be gentle on a girl here. Thanks! :)


Here is a picture of how another cling wrap painting we did that I framed. The frame is from Michaels and was super cheap with a 40% off coupon. 


I hope this tutorial helps you have some great and fun times with painting. Please let me know if you need any clarification on how to complete the artwork and you are also free to leave comments/thoughts.

-Mellow Meggan-